Images & conversion6 min read
How to turn a logo into a cut-ready SVG for vinyl
Trace a logo into closed contours a vinyl plotter can cut: what the 0.5 mm minimum feature means, how the blade-width clean-up works and how to scale on import.
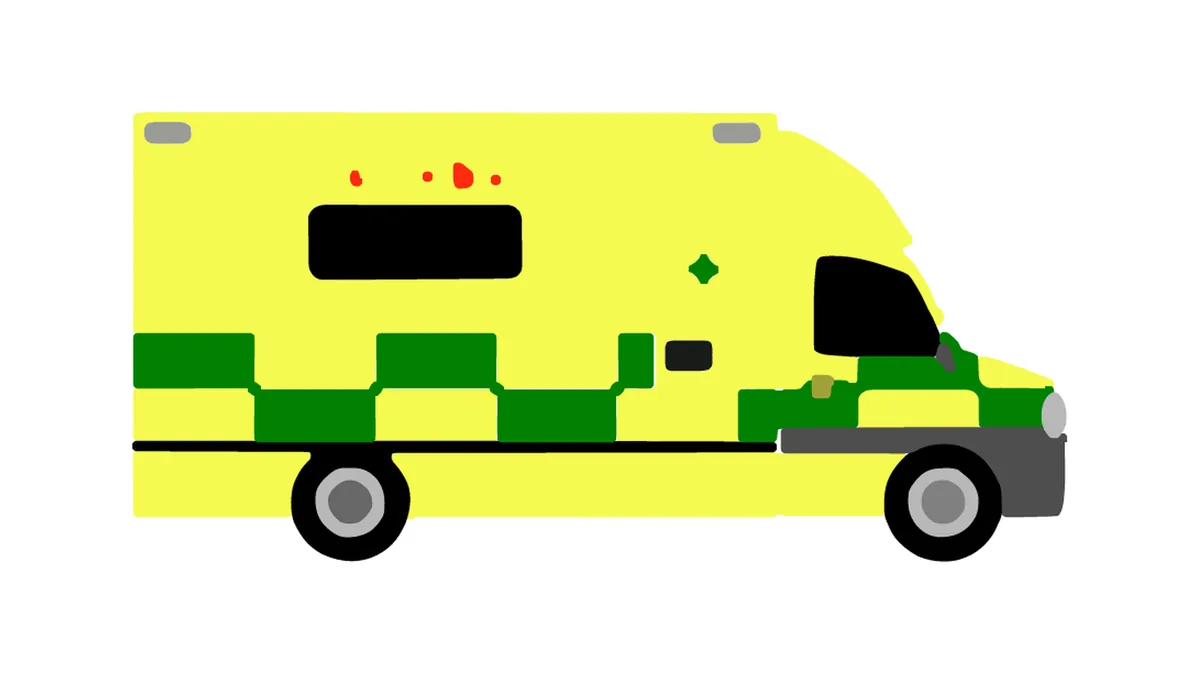
Layered mode clusters the photo into a few flat colours, cleans each one for the blade and writes one closed-contour SVG group per colour. Each group is one sheet of vinyl.
Layer counts and measurements below are from the tracer's test package (eight CC0 and public-domain images from Wikimedia Commons, traced on 18 October 2026 with a 0.5 mm minimum feature). They describe the files the software wrote; how well a given plotter registers eight sheets of vinyl is a question for your machine.
Layered vinyl means one sheet per colour, cut separately and applied on top of each other, or side by side. To get there from a photo of a sticker you need the photo reduced to a handful of flat colours, each colour as its own set of closed contours, and no two colours cutting the same path twice. The image to SVG vectorizer does this in the Cut purpose with the Layered mode: it clusters the colours, builds one mask per colour, cleans each mask for the blade and writes one SVG group per colour, named katman-N-rrggbb.
Katman is Turkish for layer, a name the tracer keeps in every language so the groups are easy to find. N is the layer number, starting at 1 for the colour with the largest area, and rrggbb is that layer's colour in hex. A group named katman-2-000000 is the second layer and it is black; katman-1-F5FA50 is the first and it is yellow. Every path inside a group is a closed contour with its fill set to the layer colour, so the file previews as a flat illustration in any viewer and still separates cleanly in any cutting program that reads SVG groups.
The layers are side by side, not stacked. Each sheet carries only the area where its colour is visible; there is no hidden red under the black. The tracer checks that no cut path is duplicated across layers and that every contour is closed, so each sheet can be cut, weeded and applied as a jigsaw piece. If you prefer stacked layers (a full base sheet with the other colours on top), cut layer 1 from the full silhouette instead and treat the rest as before.
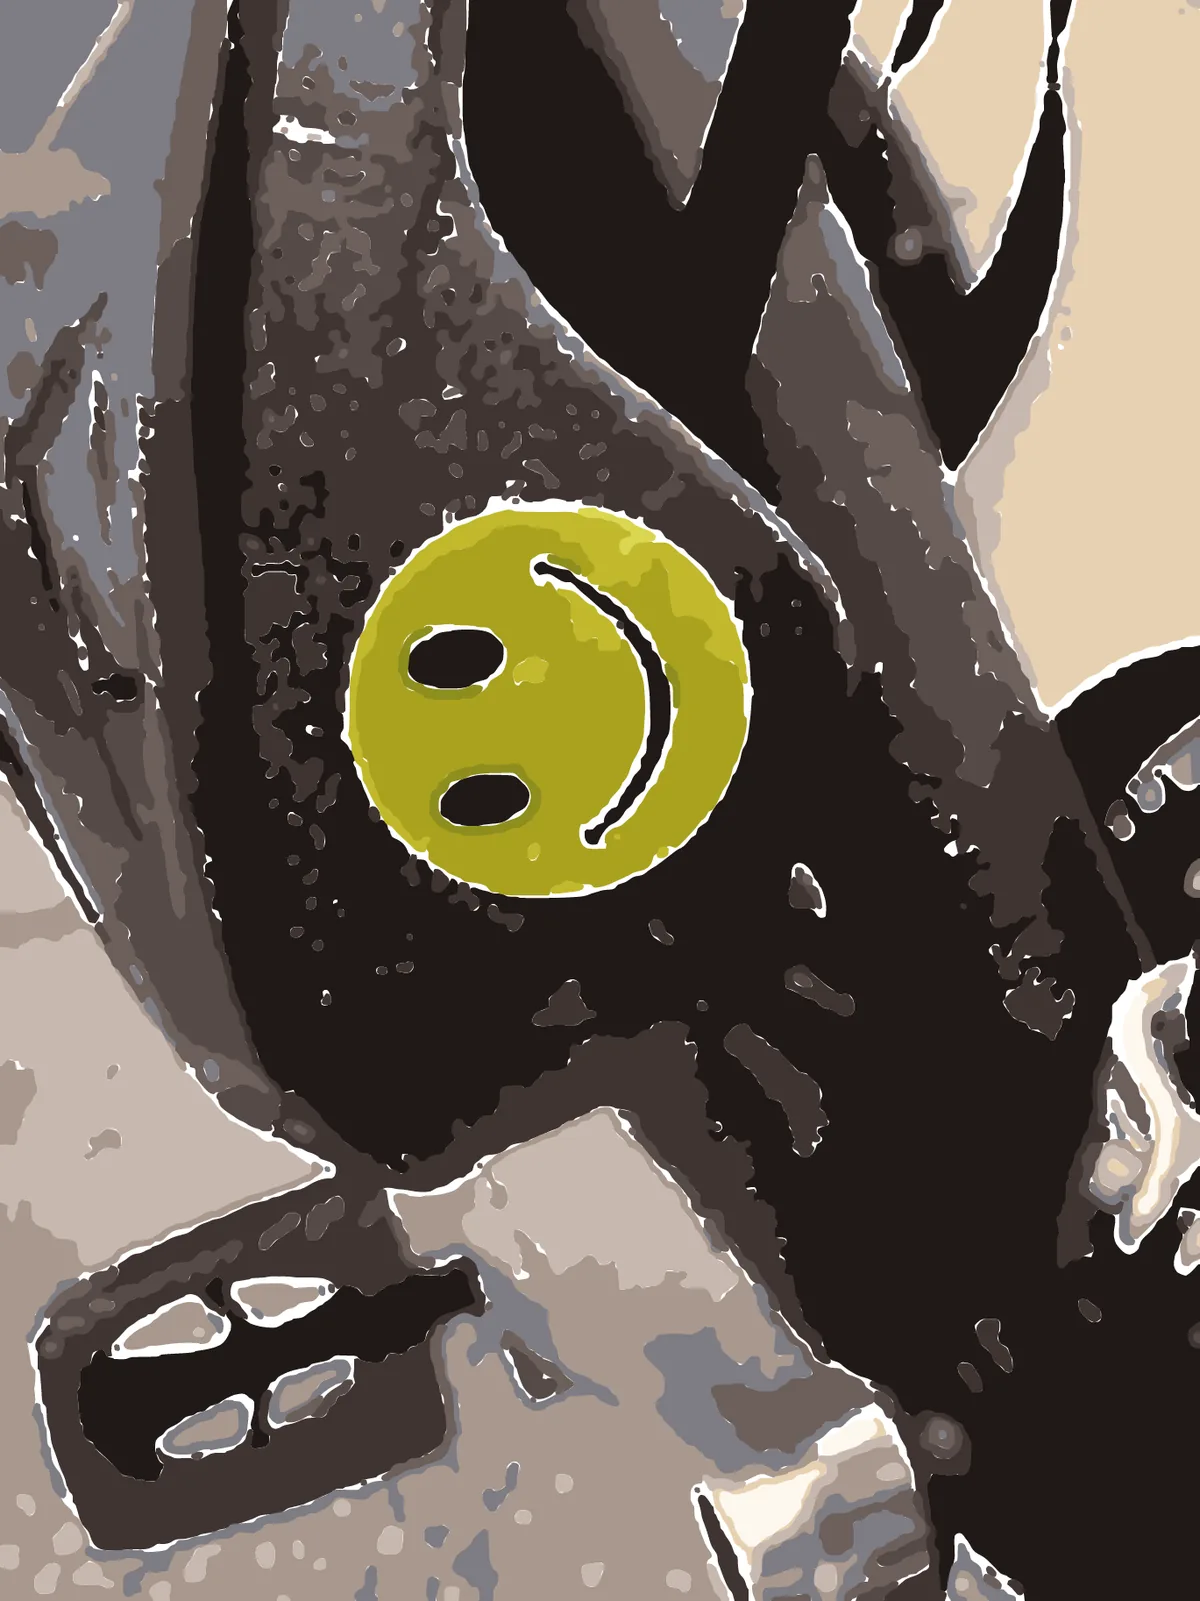
A photo of a sticker has thousands of colours: the print, the gloss of the vinyl, the shadow of the bicycle frame it is stuck to. The tracer does not cut thousands of layers. In the Cut purpose it switches to the automatic engine, which clusters the picture into regions of similar colour and keeps only the clusters that cover enough area to be worth a sheet. Colours that only appear in strips thinner than the blade are not just hard to cut, they are impossible, so the tracer drops them and lists them as dropped in the report.
What you can do before uploading makes the biggest difference to the layer count. Crop to the sticker itself with the crop tool; a border of bicycle frame becomes a layer of its own. Check the palette with the dominant colours tool: if the sticker is really four colours and the photo shows twelve, the extra ones are lighting, and a flatter, more evenly lit photo will trace into fewer sheets. Eight layers is already a lot of vinyl to register by hand; most multi-colour decals are three to five.
Every layer goes through the same blade-width clean-up as a single-colour cut: hole filling, an opening at half the minimum feature, neck and wall thickening, closing and an island filter, all with true circular discs. Then the whole file is checked at once: smallest feature, narrowest gap and narrowest neck across all layers, in millimetres, against the limit you entered. If it fails, the tracer tightens the clean-up and stamps patch discs on the narrow spots of the layer they belong to, and tries again up to three times.
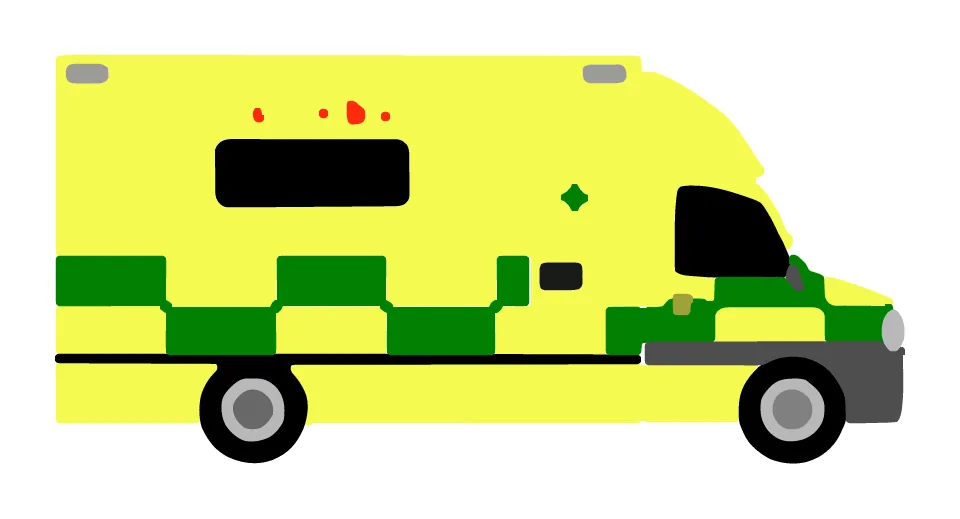
The numbers in the result panel are for the whole file. The contour count is the sum over all layers, and the cut length is the total distance the knife travels over all sheets, which is a good proxy for how long the job takes and how much weeding there is. In the test package the layered files ranged from 36 contours (the ambulance clipart) to 572 (the smiley photo), and the only ones that took a second round were the photo-born ones.
If a layer is nothing but a few specks, it was a colour the photo had and the sticker did not. Delete it rather than cut it. If a layer you need is missing, it was thinner than the blade everywhere; the fix is a larger design or a lower minimum feature on a laser, as the report guide explains.
A monochrome sticker, a stencil or a logo on a transparent background does not need layers. The single colour mode keys the foreground on one colour and gives you one silhouette, which is what the logo guide covers. Use layered mode when the design genuinely has several flat colours and you will cut several sheets; use single colour when you will cut one.
Katman is Turkish for layer. N is the layer number (1 = the largest area) and rrggbb is the layer's colour in hex, so katman-2-000000 is the second layer and it is black.
Side by side: each layer only contains the area where its colour is visible, and the tracer checks that no cut path is repeated across layers. For a stacked base, cut layer 1 from the full silhouette instead.
It only appeared in strips thinner than the blade, so it could not be cut at the minimum feature you set. The report lists dropped colours. Enlarge the design or lower the limit on a laser.
Three to five is typical for hand-registered decals. A photo can produce ten or more because lighting and background become colours; cropping and an evenly lit photo bring the count down.
The groups import as sub-layers in Cricut Design Space and Silhouette Studio; in Inkscape they are listed by name in the Objects panel. Cut one group per sheet, starting with layer 1.
Trace a logo into closed contours a vinyl plotter can cut: what the 0.5 mm minimum feature means, how the blade-width clean-up works and how to scale on import.
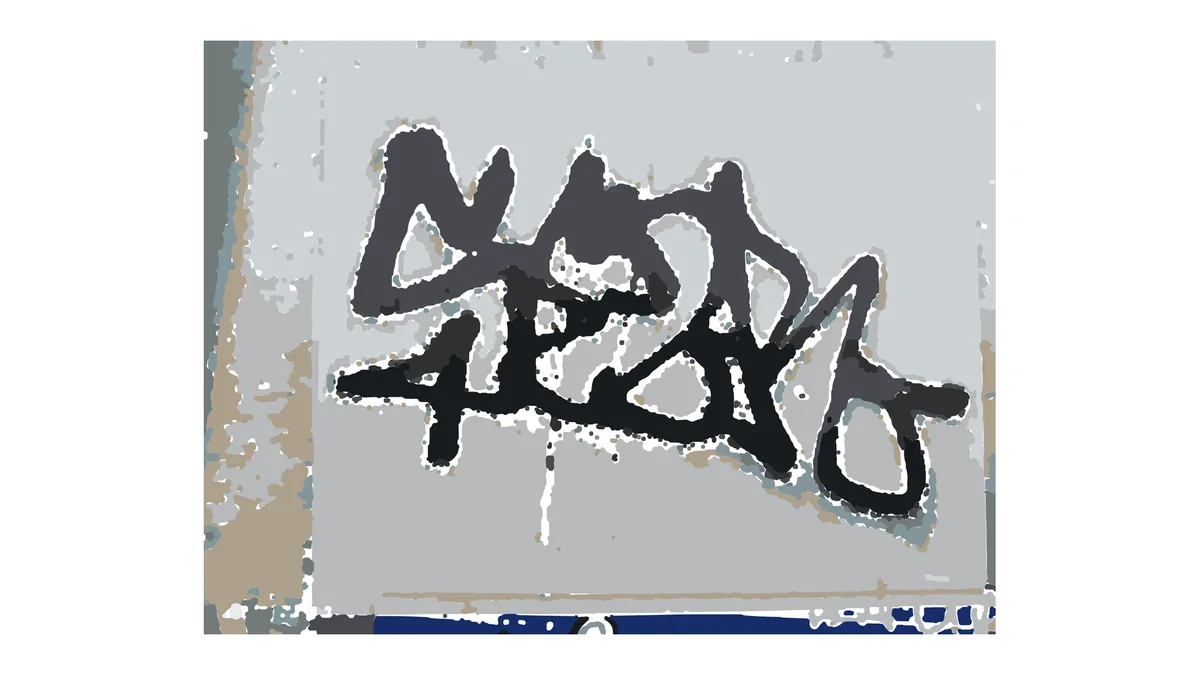
What each line of the cut report means: the status badge, the contract's three mm values, clean-up rounds, the enlargement hint and the detail retention warning.
Trace a raster logo for the press: PDF/X-3 with a FOGRA39 CMYK output intent, transparency flattened to paper white, EPS for older RIPs and a preflight checklist.