Images & conversion6 min read
How to turn a logo into a cut-ready SVG for vinyl
Trace a logo into closed contours a vinyl plotter can cut: what the 0.5 mm minimum feature means, how the blade-width clean-up works and how to scale on import.
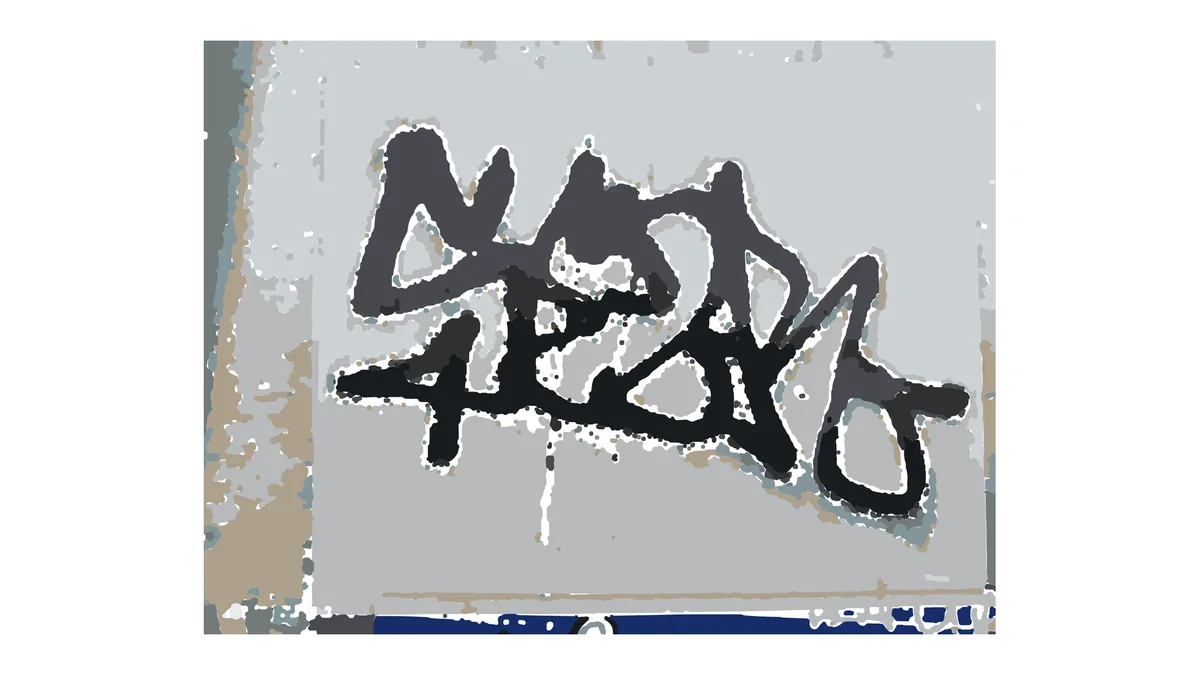
The result panel reports the contract, the smallest feature, gap and neck in mm, the clean-up rounds, how much detail survived and, on a failure, how much larger the design has to be.
The example figures come from the tracer's test package (eight CC0 and public-domain images from Wikimedia Commons, traced on 18 October 2026 at a 0.5 mm minimum feature). The percentages are what the software measured on its own output; a test cut on your plotter is still the final word.
Every cut job on the image to SVG vectorizer ends with a result panel that says more than pass or fail. It tells you the three measurements the contract was judged on, how many clean-up rounds it took, how much of the original detail survived, and, when the file cannot be cut at the size you asked for, how much larger it would have to be. This guide reads that panel line by line.
The first badge is the outcome of the whole job and has three values. Done means the file was written and passed the tracer's own comparison against the source. Cut contract not met means the file was written but the last clean-up round still left something below the limit; you can download it, but read the enlargement hint first. Quality check failed means the file was written but did not pass the final coverage comparison with the source image: the traced shapes and the original disagree about where the ink is by more than the tracer allows. Compare the preview with the original before using such a file, and open the warnings list under the panel to see what was off.
The second badge is the contract itself: passed or not met, against the limit you entered (0.5 mm by default). Three measurements sit under it, all taken on the final paths of the file you download, in millimetres:
A dash instead of a number means that measurement does not apply: a single silhouette has no gap, and a shape with no pinch points has no neck. The contour count and the cut length are informational, not part of the contract; the length is the total distance the knife travels and is a fair proxy for the time and the weeding the job will take.
When the contract is not met, the panel lists the checks that failed by name, for instance min_feature or hole_orientation, with a short detail. A failed orientation check means an inner contour was not wound opposite to its outer one, which some cutting programs read as a separate shape instead of a hole; it is rare after the clean-up but worth knowing when you see it.
The tracer does not stop at the first failing check. It runs the blade-width clean-up at three levels, each with a radius 30% larger than the last (×1, ×1.3 and ×1.69 of the base radius), and within each level it stamps small patch discs, one blade diameter wide, on the exact spots the check reported as too narrow. The Clean-up rounds list in the panel shows every round with its result, its tightening factor, the number of patches and the narrowest measurement it reached. Two things stop the loop early: a round that destroys content (less than 70% of the cut path survives) is not taken further, and a smallest feature that sits below 35% of the limit is judged too fine to fix by cleaning, because thickening would merge the shape into its neighbours.
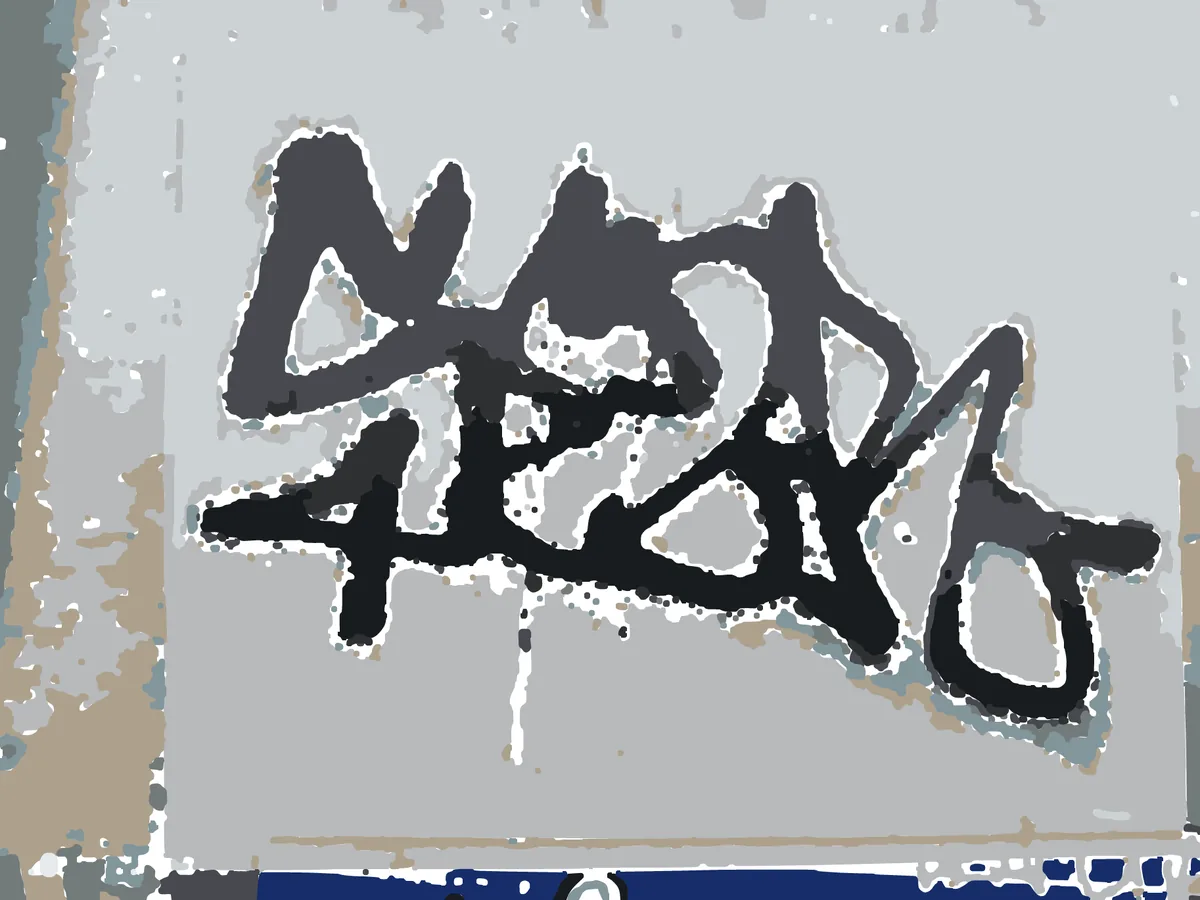
When the last round still fails, the tracer keeps the round whose narrowest spot was widest and computes how much larger the design would have to be for that spot to clear the limit. The panel shows it as a percentage: enlarge the design by at least that much and it becomes cuttable at this blade width. The number is a scale, not a guess: it is the limit divided by the narrowest measured spot, so a 0.25 mm neck against a 0.5 mm limit asks for the design to be twice as large. Because the three measurements are in millimetres, the hint is only as good as the width you entered; with no width the tracer assumed 300 dpi, and the honest first step is to enter the real size and run again.
If enlarging is not an option (the sticker has to be 40 mm wide), the alternatives are a lower minimum feature on a machine that can cut it (a laser on paper or card), or a simpler design: the logo guide discusses cutting a mark without its tagline.
Passing the contract can cost detail, and the panel says how much. Detail retention is the boundary length of the cleaned mask divided by the boundary length of the source mask, where the source mask was first denoised with a small 3×3 opening so that JPEG grain does not count as detail. 100% means the clean-up changed nothing that mattered; 53%, as in the sticker above, means almost half the edge length is gone, which is what it takes to turn a photo of brush strokes into shapes a knife can follow. Thickening can briefly make the boundary longer, so the ratio is capped at 100%.
The detail warning appears on a passing file when any of four things happened: retention fell under 80%, patch discs were used, a tightening round beyond the first was needed, or less than 95% of the cut path content survived. In layered mode a fifth trigger is the blade being wider than 1% of the design's short side, which is a size, not a design, problem. The warning does not mean the file is bad; it means the cut will be coarser than the source, and the only way to get the fine detail back is a larger design or a higher-resolution source.
In the test package every passing photo-born file carried the warning (retention 53% to 86%), the vector-born coat of arms in single-colour mode did not (94%), and the sign with large lettering reported 99% with a warning only because one patch disc was used. Those numbers are a useful calibration: under 70% expect visibly simplified shapes, over 90% expect the source as it was.
Layered files list their groups under the panel with a colour swatch each, named katman-N-rrggbb; the layered vinyl guide explains how to cut them. The warnings list collects everything the tracer gave up on or changed, including colours dropped for being thinner than the blade and the quality-check message when the status is not Done. The preview and the whole report are free to look at; the SVG and the report file are what the download hands over, under the same daily free use and credits as the other metered tools, as the pricing page describes.
Contract not met: the file was written but something is still below the minimum feature; read the enlargement hint. Quality check failed: the file was written but its coverage disagrees with the source image by more than allowed; compare the preview with the original.
From the round whose narrowest spot was widest: the limit divided by that spot. A 0.25 mm neck against a 0.5 mm limit asks for the design to be twice as large. It depends on the width you entered; without one the tracer assumed 300 dpi.
The boundary length of the cleaned mask divided by the boundary length of the denoised source mask, capped at 100%. Under 70% expect visibly simplified shapes; over 90% the source is essentially unchanged.
Passing cost detail: retention under 80%, patch discs, a tightening round beyond the first, or less than 95% of the cut path content surviving. The file is cuttable; it is coarser than the source.
There was no gap to measure: a single silhouette has no second shape to be close to. The same applies to the neck when no shape pinches.
Trace a logo into closed contours a vinyl plotter can cut: what the 0.5 mm minimum feature means, how the blade-width clean-up works and how to scale on import.
Turn a sticker photo into one cut layer per colour: how the katman-N-rrggbb groups are built, why layers sit side by side, and how to cut and register the sheets.

Trace a raster logo for the press: PDF/X-3 with a FOGRA39 CMYK output intent, transparency flattened to paper white, EPS for older RIPs and a preflight checklist.