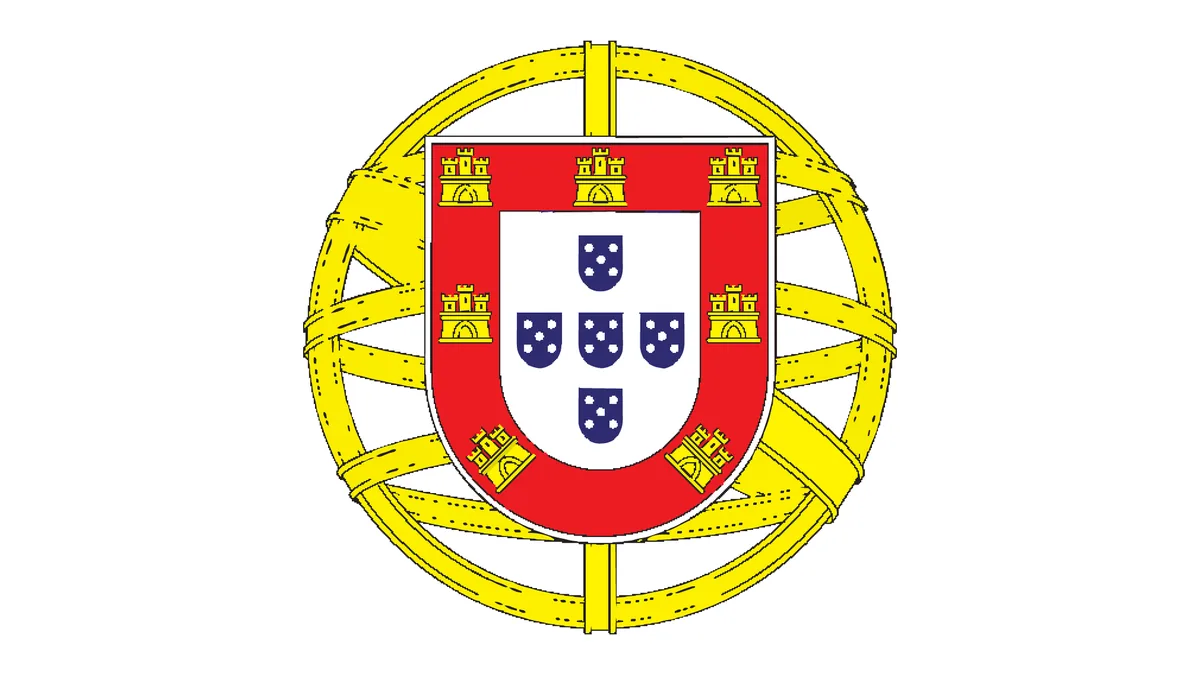
A cut file needs closed contours, nothing thinner than the blade and no overlapping paths. Pick the Cut purpose, enter the real width in mm and read the three measurements before you cut.
Measurements in this guide come from the tracer's own test package of eight CC0 and public-domain images (Wikimedia Commons), traced on 18 October 2026 with a 0.5 mm minimum feature. The files were produced by the software; what a particular blade does with them is still something you check with a test cut.
To turn a logo into a cut-ready SVG, trace it as one closed silhouette, remove everything thinner than the blade, and check the result in millimetres before you send it to the plotter. The image to SVG vectorizer does the three steps in one job when you pick the Cut purpose and the single-colour mode: it keys the foreground on one colour, cleans the mask for a 0.5 mm blade, traces closed contours and reports the smallest feature, the narrowest gap and the narrowest neck it measured on the final paths.
Why a plain trace is not a cut file
A tracer made for the screen optimises for likeness. It keeps hairlines because they look right at 100%, it lets two shapes overlap because the overlap is invisible when both are the same colour, and it leaves anti-aliased edges as tiny grey slivers. None of that matters on a monitor. On a vinyl plotter every path is a knife movement: a hairline becomes a strip too thin to weed, an overlap is cut twice and tears, and a sliver is a speck that falls off the carrier sheet. The plotter also has no idea which side of a line is the inside, so every contour has to be closed.
A cut file therefore needs three properties a screen SVG does not: closed contours only, nothing narrower than the blade can cut, and no two paths on top of each other. The tracer's cut purpose is a separate pipeline for exactly this; the screen and print purposes keep the detail the cut purpose throws away.
The 0.5 mm minimum feature, explained
The tool asks for one number, the smallest feature in millimetres, and uses it for three checks:
Smallest feature. The thinnest part of any shape, measured across the shape. A letter stem of 0.3 mm is narrower than the blade and will tear during weeding.
Narrowest gap. The closest two separate shapes come to each other. A gap under the blade width leaves a bridge of vinyl that the knife cannot free.
Narrowest neck. The thinnest connection inside one shape, where a wide area pinches down before widening again. Necks break when you lift the shape off the backing.
0.5 mm is the default because it is the smallest size most desktop vinyl cutters (Cricut, Silhouette, Brother and the plotter class above them) handle without tearing standard sign vinyl, and because anything below it is hard to weed by hand. Lasers cutting paper or card can go lower, and you can type any value from 0.05 mm up. The checks run on the final paths, after tracing, so they measure the file you download, not the mask before it.
All three numbers are millimetres, which means the tool has to know how big the design is. If you give a design width in mm, the checks use it. If you leave it empty, the tracer assumes 300 dpi, so a 960 px wide logo counts as 81.3 mm wide. Enter the real width whenever you know it: a 0.5 mm limit on a sticker that will be 40 mm wide is a completely different test from the same limit on a 400 mm sign.
Step by step
Upload the logo as PNG or JPG. A PNG with a transparent background is the easiest case: the opaque area becomes one silhouette with no internal lines. A photo of a printed logo works too; the tracer keys the foreground on the dominant colour.
Choose the purpose Cut, then the mode Single colour.
Leave the key colour off unless the automatic pick is wrong. If the logo is red on a white wall and the tracer keyed on the wall, tick the colour option and pick the red.
Keep the smallest feature at 0.5 mm for vinyl, or lower it for a laser.
Type the design width in mm. The height follows the image ratio.
Run it. The result panel shows the preview, the status, the cut contract and the three measurements. If the contract passed, download the SVG; if it did not, read the enlargement hint first (the report guide walks through every line).
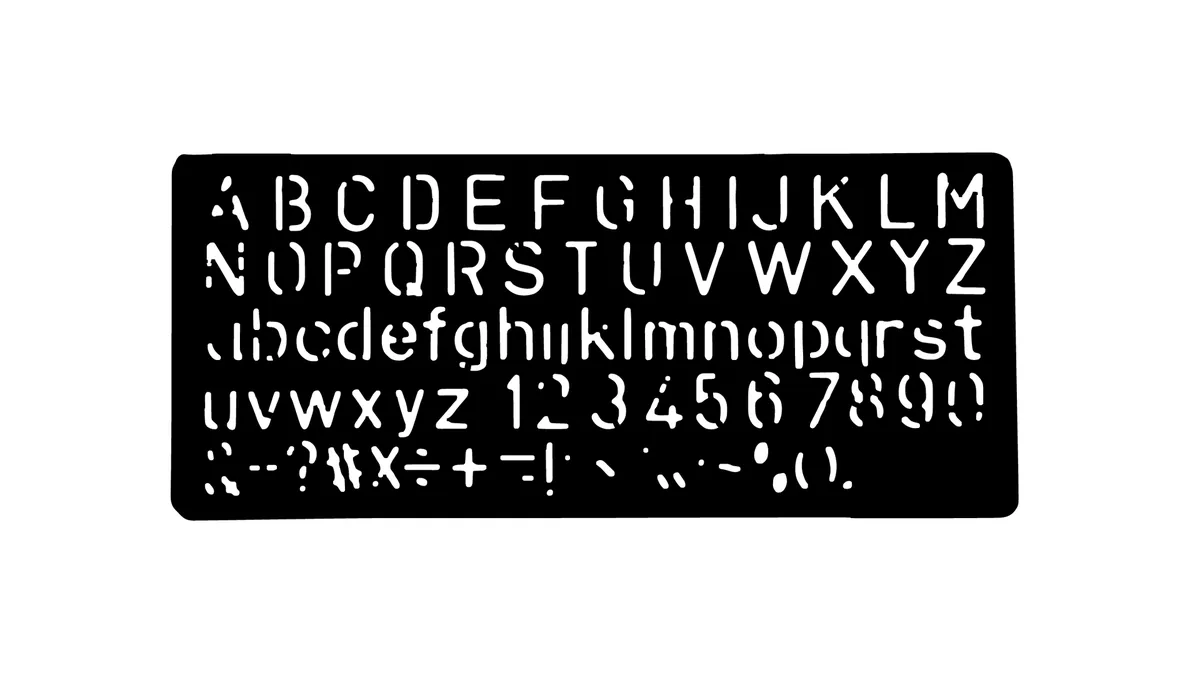
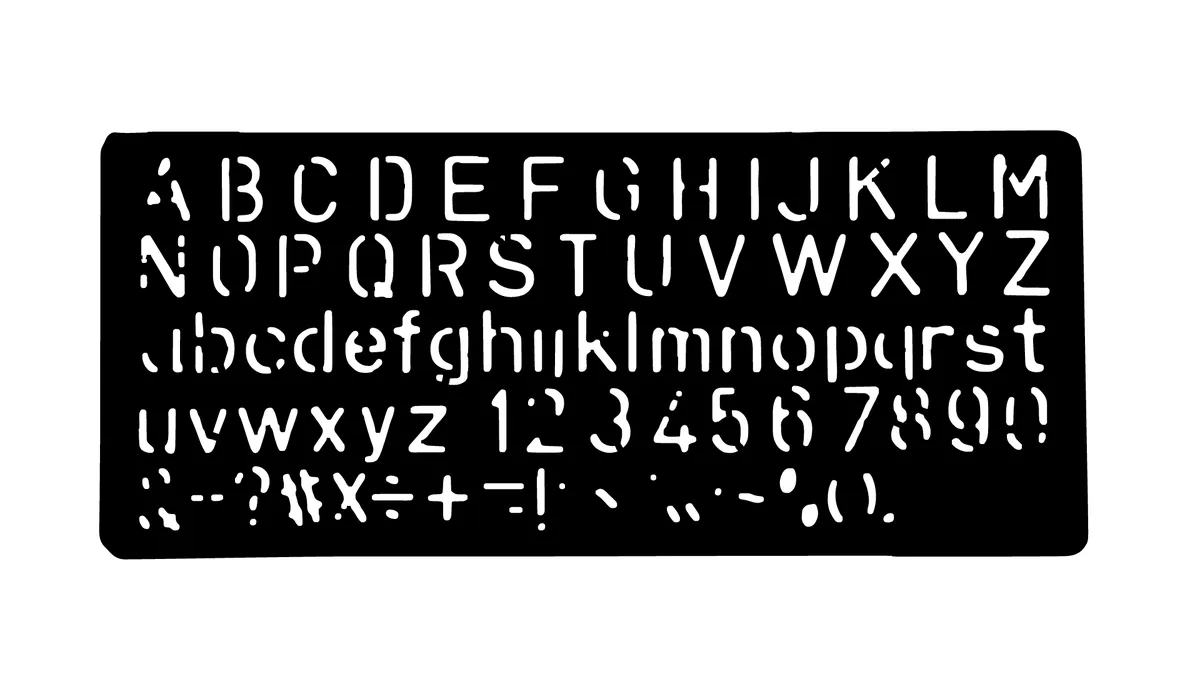
A single-colour cut file traced from a photo of a lettering stencil (CC0, Wikimedia Commons): 157 contours, 2,650 mm of cut path, smallest feature 0.69 mm after two clean-up rounds. The bridges that hold the counters of the letters survived because they are wider than the blade.
What the clean-up does to the shapes
Before tracing, the tracer works on the pixel mask of the keyed colour and applies a fixed sequence that is built around the blade radius: small holes are filled, an opening removes anything thinner than half the minimum feature, a topology rule thickens necks that join two bodies and walls that separate two backgrounds, a closing smooths the result, a majority filter removes single-pixel noise, and islands smaller than the blade are dropped. Every one of those steps uses a true circular disc computed from a distance transform, so diagonals are measured correctly rather than by a square neighbourhood.
If the first pass still fails the contract, the tool does not give up. It tightens the clean-up radius by 30% and tries again, up to three levels, and within each level it stamps small patch discs on the exact spots the check flagged as too narrow. In the test package this loop took every one of the eight single-colour files from a failing first pass to a passing contract, in one or two rounds. The cost is detail: the result panel reports how much boundary length survived, and the detail warning tells you when the passing file lost more than you may want.
Importing into your cutting software
The SVG the tool writes has pixel dimensions with no unit, and cutting software disagrees about what a pixel is: some read 72 dpi, some 96, so the design opens at the wrong size. Immediately after import, set the width to the millimetres you entered on the tool page (or to the 300 dpi equivalent, 25.4 × pixels ÷ 300, if you entered nothing) with the aspect ratio locked. Vector scaling is lossless, but the 0.5 mm contract only holds at that size. Scale the design down afterwards and the thin spots fall back under the blade.
For heat-transfer vinyl mirror the design in the cutting software, not before tracing: the tracer does not mirror. For sign vinyl keep it as is. Do a test cut of the smallest letter before you commit a whole sheet, and weed from the outside in, lifting the background first.
Preparing the logo before you upload
The tracer cannot invent pixels. A 200 px logo saved from a website has edges that are two or three pixels of blur, and at any reasonable cutting size those pixels are wider than the blade, so the shapes come out lumpy. Use the largest version you have, crop away everything that is not the logo with the crop tool, and avoid JPEGs with visible compression blocks. If the only copy is a photo, shoot it flat, square to the camera and evenly lit, so the key colour is one colour and not a gradient.
One more thing to decide before uploading is what counts as the logo. A wordmark with a tagline in 6 pt text is two jobs: the mark cuts fine, the tagline never will at that size. Either enlarge the whole design until the tagline passes, or cut the mark alone and print the tagline. The report's enlargement hint gives you the percentage for the first option.
Frequently asked questions
What does the 0.5 mm minimum feature mean?
It is the smallest part, gap or neck the file may contain, measured in millimetres on the final paths. 0.5 mm is what desktop vinyl cutters handle without tearing standard vinyl; lasers can use a lower value.
Why does the tool ask for the design width?
The three checks are in millimetres, so the tool has to know the physical size. Without a width it assumes 300 dpi, so a 960 px logo counts as 81.3 mm wide.
What happens if the cut contract fails?
The tracer tightens its clean-up up to three times and stamps patch discs on the narrow spots. If the narrowest point is still below the limit, the report tells you by what percentage to enlarge the design.
Why does my SVG open at the wrong size in Cricut Design Space or Silhouette Studio?
The SVG uses unitless pixel dimensions and each program assumes its own dpi. Set the width to the millimetres you entered on the tool page right after importing, with the aspect ratio locked.
Does the tracer mirror the design for heat-transfer vinyl?
No. Mirror it in the cutting software after import. Sign vinyl is cut as is.
What each line of the cut report means: the status badge, the contract's three mm values, clean-up rounds, the enlargement hint and the detail retention warning.
Turn a sticker photo into one cut layer per colour: how the katman-N-rrggbb groups are built, why layers sit side by side, and how to cut and register the sheets.
Trace a raster logo for the press: PDF/X-3 with a FOGRA39 CMYK output intent, transparency flattened to paper white, EPS for older RIPs and a preflight checklist.