3D printing & STL5 min read
Slicer errors explained: what STL warnings mean and how to fix them
What PrusaSlicer, Bambu Studio and Cura mean by open edges, non-manifold edges, reversed faces and floating parts, and how to repair the STL behind them.
When a model is bigger than the build volume, cut it with flat planes into parts that fit with a margin, cap every cut so each part is solid, and keep the original positions so the pieces line up when you glue them.
Build volumes checked on 1 October 2026 on the makers' own product pages, linked in the table. Brand names are used only to say which printers the numbers apply to.
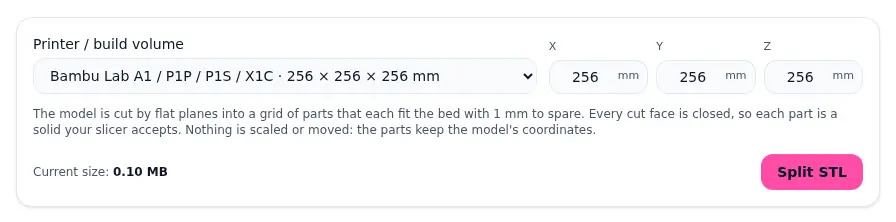
To split an STL that is too big for your bed, cut it with flat planes into parts that each fit inside the build volume with a little room to spare, close every cut face so each part is a solid, and keep the parts in their original positions so they line up again when you join them. You can do this in a slicer's cut tool one plane at a time, or split the STL into bed-sized parts automatically: pick your printer and the splitter works out the grid, cuts, caps every face and returns the parts as one ZIP.
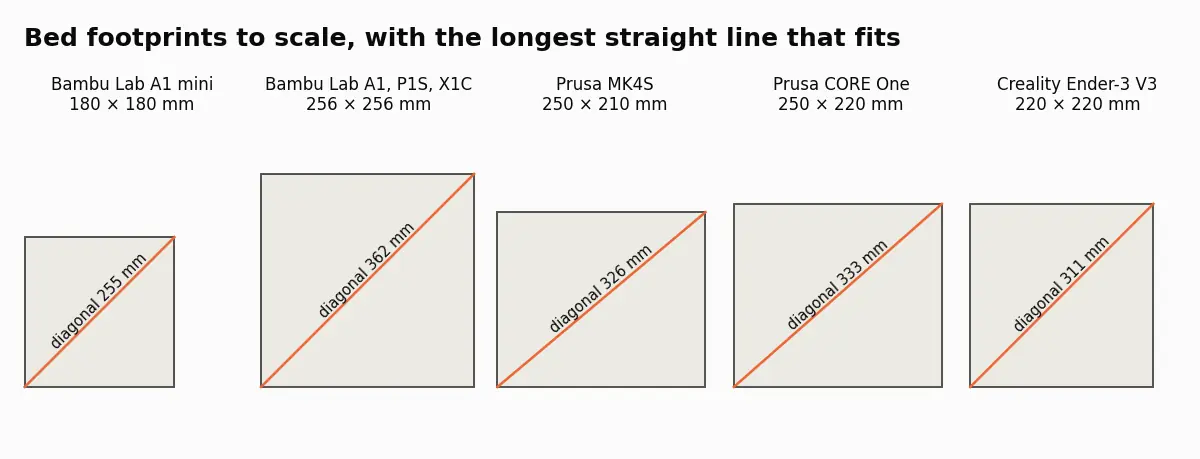
The number that matters is the build volume in millimetres, X by Y by Z. These are the published figures for common printers:
| Printer | Build volume (mm) | Source |
|---|---|---|
| Bambu Lab A1 mini | 180 × 180 × 180 | Bambu Lab store |
| Bambu Lab A1 | 256 × 256 × 256 | Bambu Lab store |
| Bambu Lab P1S and X1 Carbon | 256 × 256 × 256 | Bambu Lab store |
| Prusa MK4S | 250 × 210 × 220 | Prusa product page |
| Prusa CORE One | 250 × 220 × 270 | Prusa product page |
| Creality Ender-3 V3 | 220 × 220 × 250 | Creality product page |
Two details are easy to miss. Bambu Lab notes on the P1S page that Bambu Studio limits the printable height to 250 mm by default to protect the bed, so plan for 250 rather than 256 in Z. And the usable area is a little smaller than the published one once you add a brim or a skirt, so leave a few millimetres.
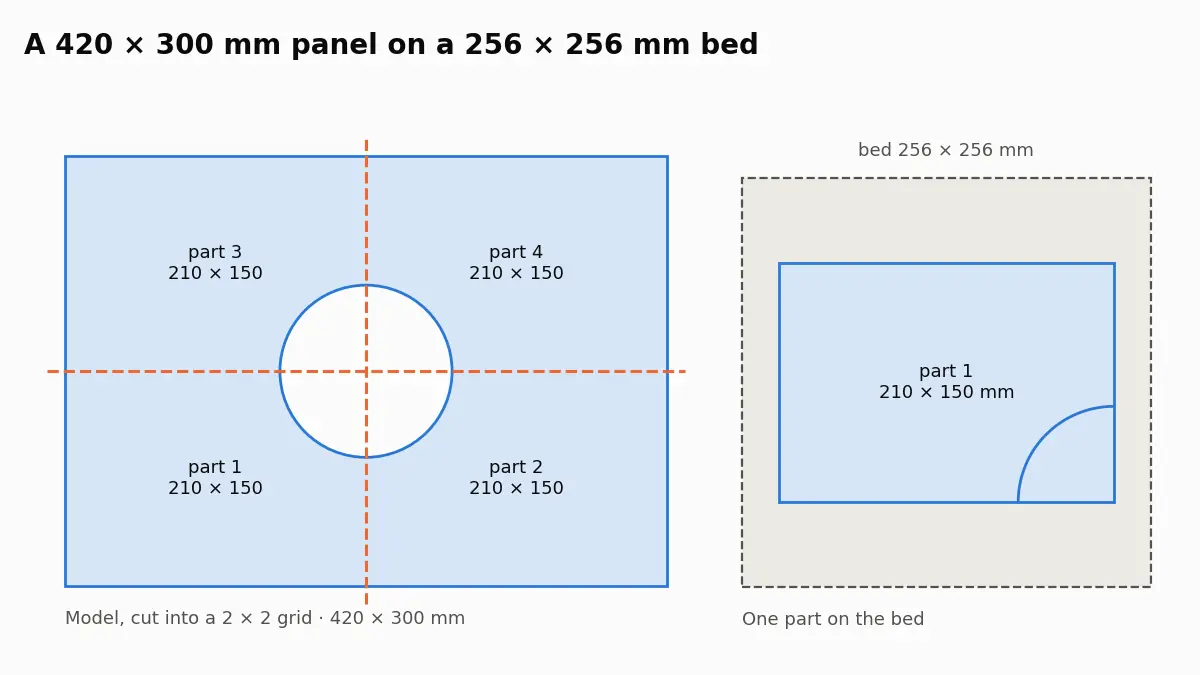
We tested it with a flat 420 × 300 × 6 mm panel with a round cut-out, which does not fit any of the beds above. On a 256 mm bed the splitter made a 2 × 2 grid of four 210 × 150 mm parts, all closed, with 100% of the volume kept.
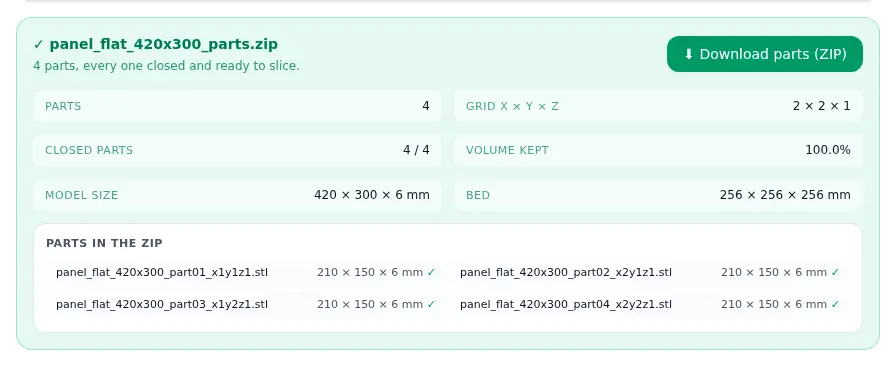
If you have a model waiting, open the STL splitter, choose your printer and check the report before you slice.
The splitter spaces cuts evenly along each axis that is too long, which gives the fewest parts of equal size. It does not yet let you place a cut yourself. That is fine for panels, signs, large vases and terrain, and less ideal for a figure where an even cut would run through a face. For those, a manual cut in the slicer along a natural seam, such as a collar, a belt line or the edge of a panel, hides the joint better. Bambu Studio and PrusaSlicer both have a cut tool for this.
A flat cut gives you a flat mating face, which is the largest possible gluing surface. What it does not give you is alignment. Three approaches, from simplest to most work:
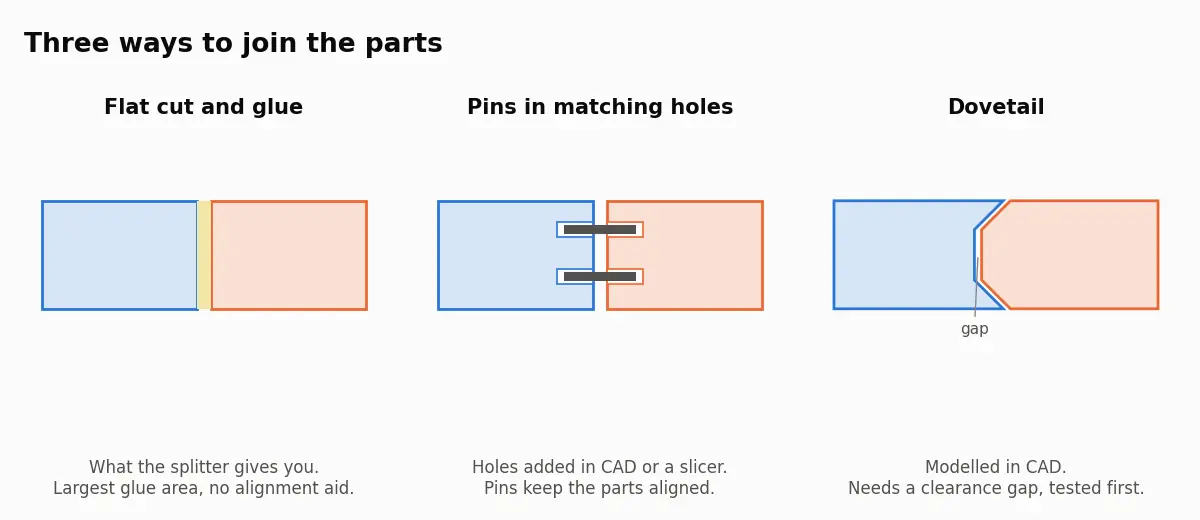
Print each part with its cut face on the bed where you can. The cut is flat and large, so it gives good adhesion, and the joint face comes out dimensionally accurate, which makes the glue line thinner. When the cut face cannot go down, put it vertical rather than upside down, so it does not need supports.
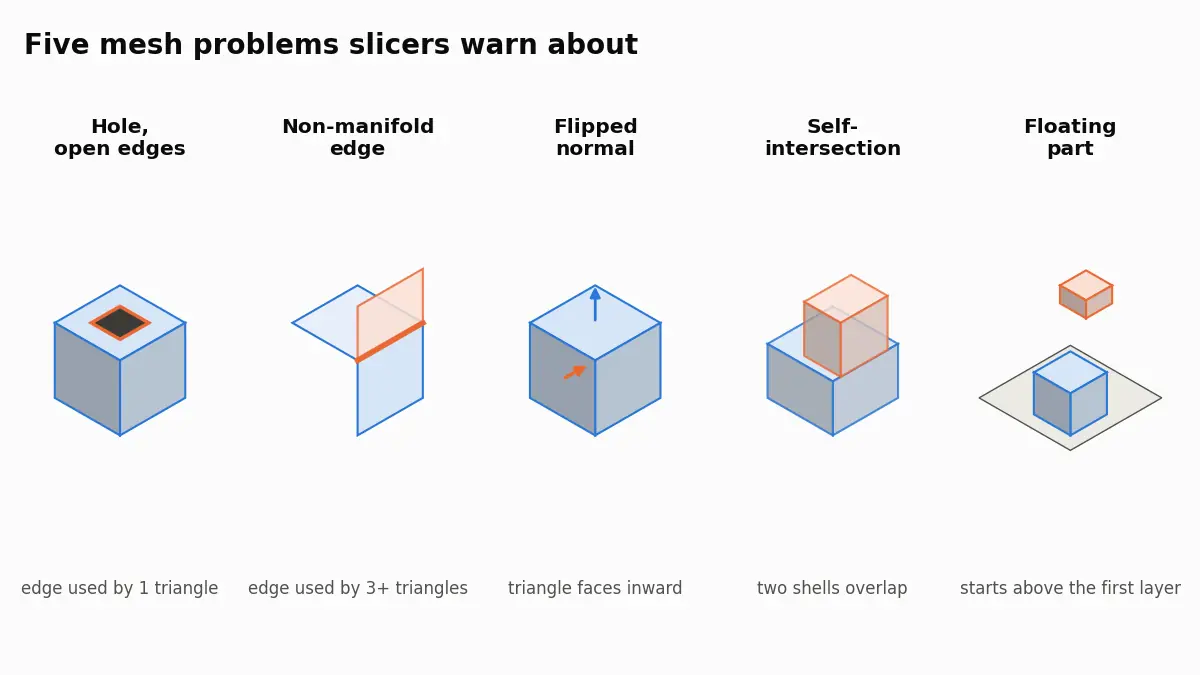
The splitter makes straight, evenly spaced cuts and up to 64 parts per model; it does not add pins or dovetails and does not rotate parts for you. If the model has overlapping bodies or open surfaces, some parts can come back with open edges, and the report says which. Glue joints are weaker than continuous layers, so a part that carries load should be cut away from the stressed area. Our guide to slicer warnings and the non-manifold repair tutorial cover the open-edge case.
Compare the model's bounding box with your printer's build volume in X, Y and Z. The STL analyzer and most slicers show the box in millimetres. If the model is far too big or far too small, check the units before cutting.
Not at the moment. The cuts are spaced evenly along each axis that is too long, which gives the fewest parts of equal size. For a cut along a natural seam, use the plane cut in your slicer.
Yes. Nothing is moved, rotated or scaled, so each part keeps the coordinates it had in the whole model and the cut faces are flat. Import all parts together and they assemble in place.
The splitter keeps 1 mm free on every side. If you print with a brim or a skirt, leave a few millimetres more by typing a slightly smaller custom bed size.
Cyanoacrylate (super glue) is quick and strong on PLA. A two-part epoxy is slower, which gives you time to align large parts, and fills small gaps better.
What PrusaSlicer, Bambu Studio and Cura mean by open edges, non-manifold edges, reversed faces and floating parts, and how to repair the STL behind them.
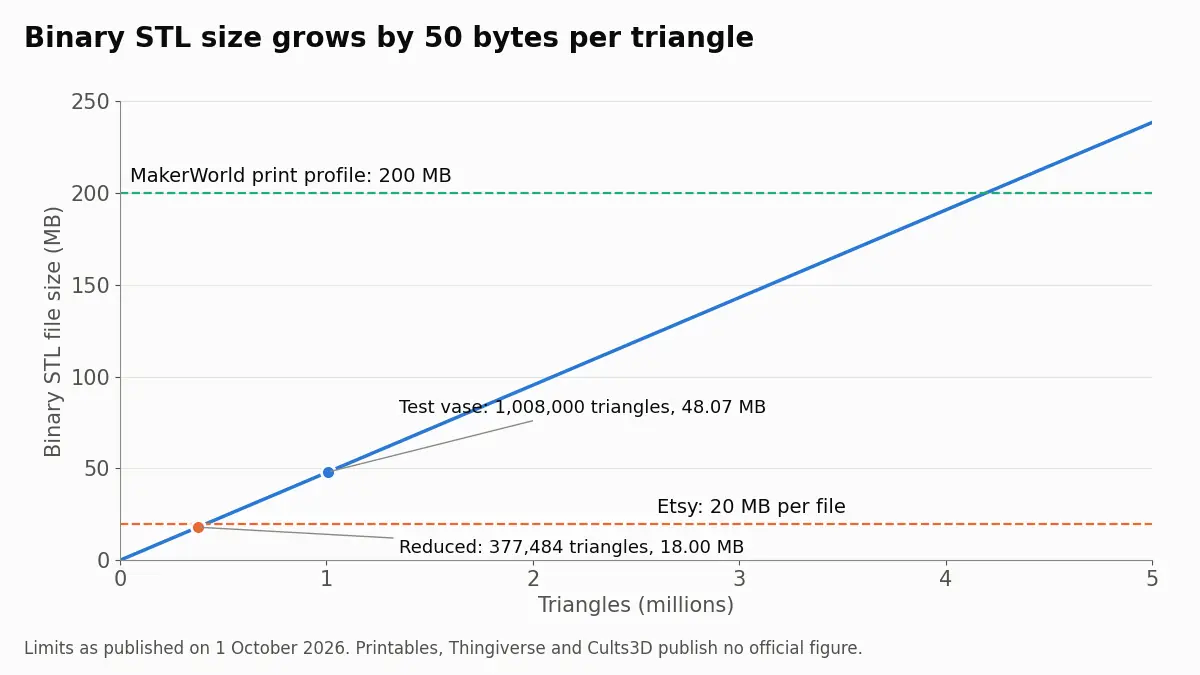
Upload limits on Etsy, MakerWorld, Printables, Thingiverse and Cults3D, checked October 2026, and how to bring an STL under them without losing detail.
What each format really stores, how many bytes the same mesh costs in all three, why units decide most arguments, and the edge cases that break silently.